Saturday 29 December 2012

Christmas Cranberry Cheesecake

Merry Christmas everyone! I hope it’s been a good’un. I’ve spent the best part of the holiday break lounging around in my pyjamas (and occasionally a very glamorous leopard print onesie!!), catching up with family and friends, and eating my own body weight in gorgeous food. I also seemed to spend a lot of the Christmas break baking.
 
It seems baking goes hand in hand with Christmas. Every year they bring out fantastic new Christmas recipes to add a twist to the traditions, provide ideas for a Christmas party or ideas for supplementary gifts and even edible Christmas tree decorations. I love it. In our house it’s become a bit of a tradition to bake a lot for Christmas, one that I started taking part in last year, when I took the opportunity to help my dad make the Christmas puddings. I cannot underestimate how good his Christmas puddings are. My auntie lives for them on Boxing Day, and there are never any spares left. So the fact I was given a chance to partake in the magic was an honour!
This year we carried on with the traditions, and made a baking double team. My dad and I manned the kitchen; while my mum and brother made sure the house was covered head to toe in tinsel and fairy lights. Now in my house we don’t have Christmas dinner on Christmas day. (I can hear the gasps already…) This is because all the family don’t come round til Boxing Day, so on the day itself there is only my dad, mum, brother and me. Therefore we have ‘bits’. This is what we have glamorously named picking food, and we love it. We obviously crank it up a notch so it’s a bit more festive then your ordinary run of the mill picking food, but it is one of my favourite parts of Christmas day (along with the falling asleep in front of a movie in the early evening!) and it means dad doesn’t have to spend his morning cooking, giving him plenty time to play with his latest gadget! This year we did it again. However my dad and I decided to add a few new additions to the party food table.
I found it really hard to pick a recipe out of all the lovely concoctions we made, however the one that takes the biscuit for me (no pun intended) is the Cranberry cheesecake. I am so happy to share this recipe with any one that wants to hear about it, because it is fantastic. It is a winner for a number of reasons; it looks fantastic, it’s so easy to make and tastes A-maaaaazing. What more could you want? I was really proud of how it turned out, and judging by the fact it feeds 16 and only lasted 1 day I think the Donnelly clan approved of it too!
I got the recipe out of Jamie Oliver’s Christmas magazine, a magazine we treated as a baking bible over the festive season. I love Jamie Oliver’s recipes; they are so creative and always really yummy. However the main reason I love him? Because he refers to measurements as ‘a splash of that’ and a ‘slosh of this’. That is music to my ears. Saying I’m clumsy is an understatement, therefore following a recipe that refers to dollops rather than one and a quarter of something is like music to my ears!! This cheesecake is 
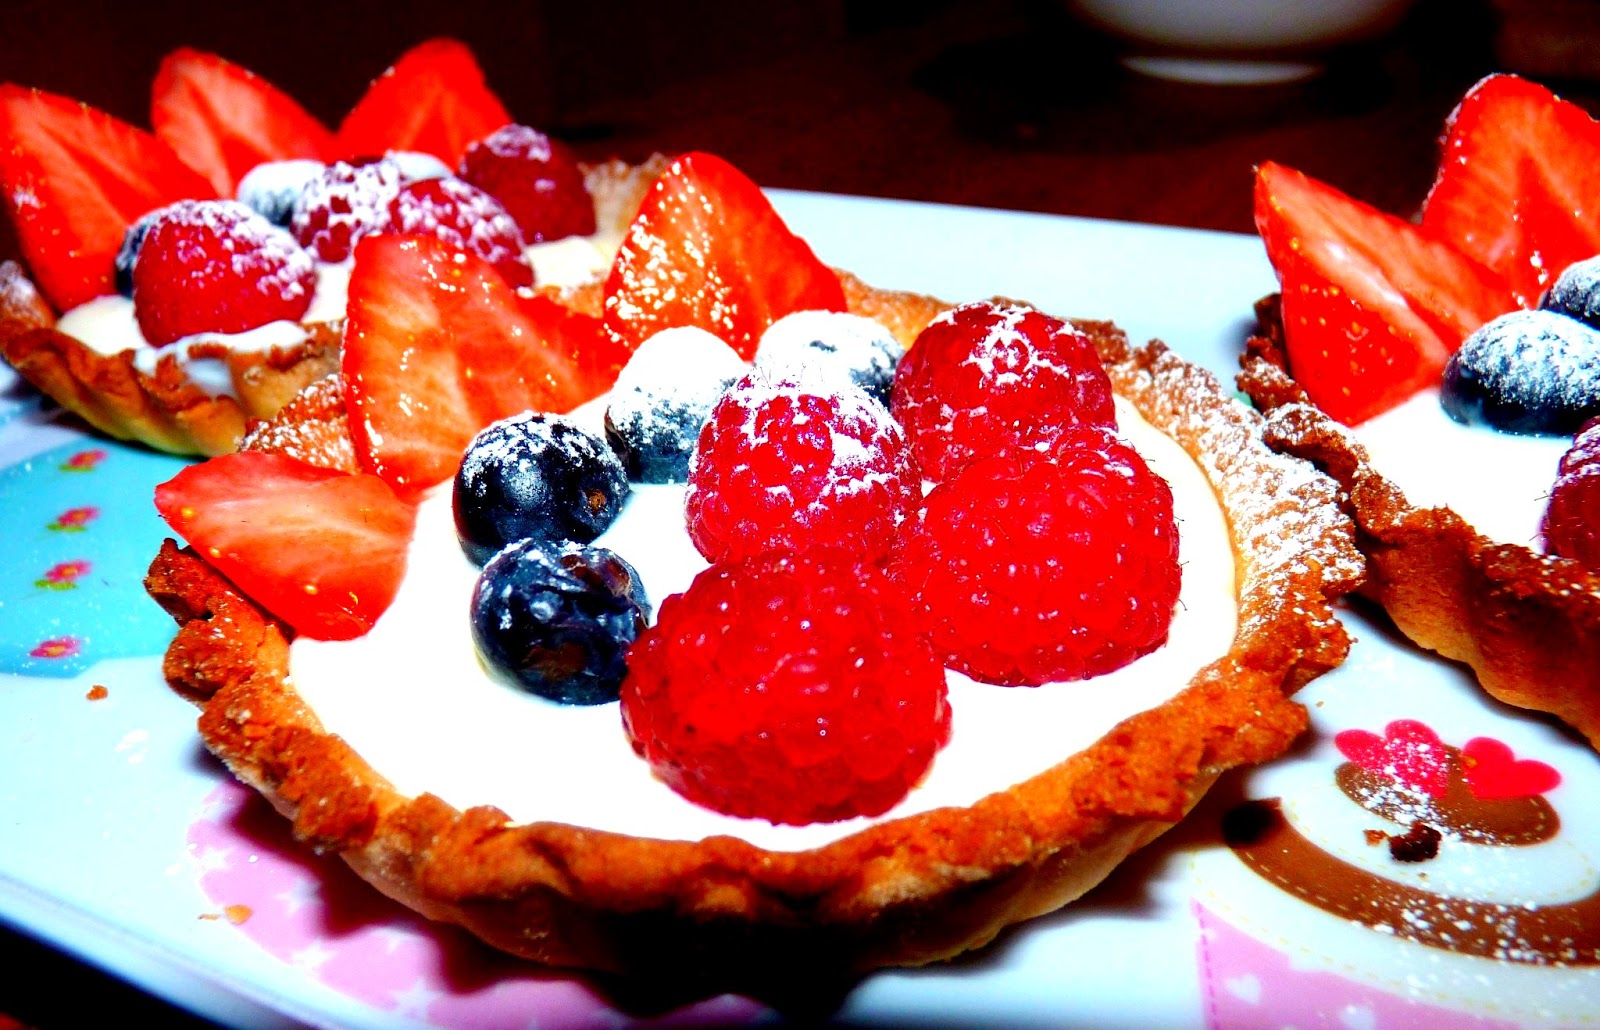
made in such a style. Now I know Christmas is technically over (so sad about this) but this cranberry cheesecake is good for any season, and can be easily adapted to summer fruit topping for later in the year. This is a blessing, because it’s too scrumptious to only save for Christmas! I hope you enjoy it as much as we did. 

 
Shortbread Base:
150g Unsalted Butter
75g Caster Sugar
1 Vanilla Pod, split, seeds scraped
225g Flour (the recipe doesn’t specify which, I opted for plain!)
Cheesecake Filling:
225g Caster Sugar
1 Vanilla Pod, split, seeds scraped
750g Cream Cheese3
3 tbsp Cornflour
2 Eggs
300ml Double Cream
 
Cranberry Topping:
400g Fresh Cranberries
Juice of 1 Lemon
150g Caster Sugar
 
Preheat the Oven to 170 C/ Gas 3 and prepare a mousse ring (or if like me and you have never heard of a mousse ring a greased and lined 25cm springform cake tin will do the job just fine!)
Firstly make the shortbread base. I am used to the crushed digestives and butter base for my cheesecakes, but this base was a welcome addition and one I would use again. It just gives the cheesecake a little hint of luxury.  To make the base firstly beat the butter, sugar and scraped vanilla seeds together in a large bowl until smooth. Then add flour to the mixture and mix til it comes together into a ball. (The ball may be sticky, if so flour your hands a little, but don’t worry too much about it as it will dry out in the oven.) Once in a ball press the dough into the bottom of your lined tin, with whatever utensils you wish (I opted for hand pressing, which gave it a ‘rustic’ look!). Then place the biscuit base in the oven and cook for 15-20 mins until golden. Leave the oven on.
Whilst the biscuit is cooling a little you can start on the filling. Now this is the brilliantly easy bit. Firstly combine the sugar, vanilla seeds (if like me you don’t have many vanilla pods handy a tiny drop of vanilla essence can give you the desired flavour), cream cheese and cornflour in a bowl and mix until smooth. Then stir in the eggs, then the cream until combined. And voila! That’s it. Pour the filling over the shortbread base and bake it in the oven for 45-55 mins, until the filling has just the slightest wobble.
This would be the point to have festive sherry and catch up on Christmas TV like The Snowman and Snowdog (big fans of that in our house). Whilst the cheesecake is cooling you can start on the scrumptious topping. Put 300g cranberries in a saucepan with the lemon juice, sugar and 50ml of water (a ‘splash’ in technical terms...) and simmer for 5-10 mins over a medium heat, until the cranberries start breaking down and the mixture thickens. (If like me your patience runs out after 2 minutes you can always ‘help the process on’ by mashing the cranberries very gently!). Stir in the rest of the berries, then leave to cool slightly before pouring over the cheesecake. This makes a lovely topping, as it is sweet but the cranberries provide a refreshing kick to it. You can change the fruit according to your fancy. Chill in the fridge until ready to serve.

Sunday 2 December 2012

Putting a bit of summer into the winter blues...


It was my Mother’s birthday last week (for fear of my life I cannot divulge her exact age...) and in typical Jane style we had a fabulous celebration. We had a morning in a luuurvley spa and went out for nice meal, however soon enough the traditional Donnelly family party came round on Sunday. Dad resumed his usual position of head cook/chef/everythinginbetween in the kitchen, and baked up a storm. The table was awash with different kinds of bread, pastries, home cooked meats, salads and cakes. He pulled out all the stops. I took this opportunity to bake something new and try it out on unsuspecting family members...

I love winter, it has to be my favourite time of year; Christmas, knitted jumpers, snuggling up next to the fire, you can’t beat it. However although I am winter’s number 1 fan, I do get slightly fed up of the constantly dark and grey days that never seem to lighten up (and there are a lot of those up north..). Therefore when the opportunity arose for me to try something new for this baking blog, I decided to go against the grain of leaning toward mince pies and gingerbread men (they’ll be here next week don’t you worry!) and decided to try something light and summery, to bring a bit of light into the situation.


So very in tune with my colourful and lovely mum I baked some Summer Fruit Tartlets. These little beauties came from a little handy sized book called “Everyday Desserts; a collection of essential recipes” by Terry Jeavsons. The book was a stocking filler off last Christmas, that I just happened to flick through last week. It’s a great little book to have, as it has all the essentials in it; apple pie, sticky toffee pudding, etc. However it also has a range of what I like to call ‘fancy’ desserts, for those ‘I need to look impressive’ baking situations. As it was her highness’ birthday, I thought a sticky toffee pudding wouldn’t cut it (although this may be the only time you hear me saying that...) and decided on Summer Fruit Tartlets as my mission. However as I began the baking process, I found the whole thing a whole lot less faffy than the fabulous picture seemed to suggest to me (minus a pastry disaster, but we’ll get to that in a minute...)

Summer Fruit Tartlets


Therefore I would definitely recommend this recipe as an addition to any Christmas party buffet table this season to bring a bit of summer light to the party!

Ingredients (makes 12):
Pastry:
200g/ 7 oz of plain flour (plus extra for dusting)
85g/ 3 oz icing sugar
55g/ 2oz ground almonds
115g/ 4oz butter
1 egg yolk
1 tbsp milk

Filling:
225g/ 8oz cream cheese
Icing sugar; enough to taste plus extra for dusting
250g/ 9 oz fresh summer fruits (I went for strawberries, raspberries and blueberries)

Preheat the oven to 200 C/ 400 F

First start with the pastry. Now I am a firm believer in keeping a ready to roll pastry in the fridge for any of your pastry needs, the stuff is genius. However as this recipe calls for the addition of ground almonds in the pastry, and as I am trying to get better at baking I thought I’d bite the bullet and make the pastry from scratch.

Firstly to make the pastry, sift the flour and icing sugar into a bowl. Stir in the ground almonds. Add the butter and rub in with your fingers. I find that the gentler you are at this stage, the lighter the pastry. (Saying that my dad isn’t the lightest of handed person, and his pastry is divine, so if you’re in a mood to smush it, go for it!) You need to do this until the mixture resembles breadcrumbs.

Then add the egg yolk and milk and work together with a spatula. Once the mixture is looking a bit more together mix with your fingers til the pastry binds. Then wrap the pastry in cling film and leave in the fridge for 30 minutes.

On a floured work surface, roll out the pastry, to about 2-3 cm thick. Now this was the point where I encountered some, ahem, ‘difficulties’. I think either the ground almonds, or the amount of butter this recipe calls for made the pastry rather sticky. Therefore learn from my mistake and go a bit heavy handed on the flour you put on the work surface and rolling pin. Or you could do what I did and get into a sticky mess, and call for the assistance of anyone who doesn’t have pastry all over themselves to come and detach you from the pastry...

Once you’ve rolled the pastry out (and recovered from the pastry trauma) use it to line 12 deep tartlet or individual brioche pans. Do this bit with as much patience as possible, as the pastry is quite delicate and you may end up with a few ‘interesting’ looking pastry cases if you try and bodge it back together. Once in the tartlet pans prick the bottom and then press a piece of foil on top of each tartlet, making sure you cover the edges. Bake in a preheated oven for 10-15 minutes or until lightly golden brown. Then remove the foil and bake for a further 2-3 minutes. Remove from the oven and transfer to a wire rack to cool.

While they’re cooling you can start on the incredibly easy tart filling. Place the cream cheese in a bowl and add as much icing sugar as you need to taste. (I added only a scatter, as too much can make the whole thing very rich.) Once the tartlets are cooled, place a spoonful of the filling into each pastry case, and arrange the fruit on top however you fancy. To add that ‘party’ finish dust with sifted icing sugar and serve.

Saturday 1 December 2012

It all started with a loaf of bread...

Hello! My name is Anna. I’ve recently graduated from University and am in dire need of a project. I have spent my last three years ‘swotting’, meaning I am now panicked by the idea of free time. This blog was kindly suggested by family members as a way to ‘chill the hell out!’ however my love for baking has a much longer (and slightly less neurotic) history...
The clue is in the title. When I was little I remember being awoken every Sunday morning by the smell of freshly made bread. My childhood memories are tinged with this smell. This was because every Sunday my dad used to get up and make fresh bread, cakes and other baked goods for us all for the week. (NOTE: this plan had a flaw in it, because the goodies were so tasty, they never made it past Monday). My younger brother and I being the dutiful children that we are offered to help my dad by licking the bowl of chocolate cake mix clean. Word caught on about my dad’s amazing baking skills, and soon enough he became the chief baker for every family party we had. To the point where he now regularly makes his own birthday cake!
I asked my dad where he learnt to bake, and he said from his mother. My grandma is a tough cookie, and an even better baker. It is a well known fact that her cheesecake is the best you’ll ever have. (If you’re lucky I’ll share with you that golden recipe!)
As I’ve gotten older I’ve become more interested in the actual baking, rather than just the scoffing of the end products, and began to take a more active role in the helping. To the point where I was even given my own apron and rolling pin (pink, of course). So I’m trying to follow in the family footsteps and hone in on my baking inheritance.
I find baking very therapeutic, and as Kate Shirazi notes in her ‘Baking Magic’ book, there is scientific evidence for this (so it must be real!). There’s something so satisfying and relaxing about kneading some dough. I also get quite excited about the cooking part too (lame i know...) Because more often than not the dough goes in to the oven looking like a suspicious slop like mixture, however 30 minutes later out comes a golden brown, mouthwatering, beautiful smelling loaf of bread which you can proudly say to yourself ‘I did that.’
So as a dedication to my wonderful baker dad I am starting up the Sunday morning baking club a place where I hope we can share recipes and our ‘I did that’ moments. I hope you like the recipes I try to tackle, and you never know with a bit of luck, one day I might be half the baker my dad is.